Home » Crafts » DIY Painted Glitter Clothespins Tutorial
I received the following items for review from Oriental Trading. All opinions are my own.
My kids love crafting. Paints, markers, crayons, glitter, you name it. If they can craft with it, they love it! We have stacks and stacks of art they have made, but I wanted them to have a way for them to display their art. A way that we could see all of the beautiful things they create, but they can change it out whenever they have a new project. We decided to create them an art wall. The fun thing about this art wall, was that everything was created by them. Including the Clothespins they would use to hold their artwork. Clothespins are fun and all, but we wanted to pretty them out a little more so the kids decided that it would be best to paint them and glitter them!
What you need for this craft:
Martha Stewart Crafts™ Pearl & Metallic Acrylic Paint Set
50 Clothespins
Bright Glitter
Aleene’s® Original Tacky Glue™
Directions:
1. Paint your clothes pins. These is easy enough for preschoolers and they will have so much fun. We used metallic paint which was really fun because it turned out very shiny and bright.
2. Lay your clothespins out to dry on wax paper.
3. We used one paper plate per color of glitter, so the colors wouldn’t mix.
4. Add tacking glue on paper plate. Use paint brush to add glue to one side of clothespin.
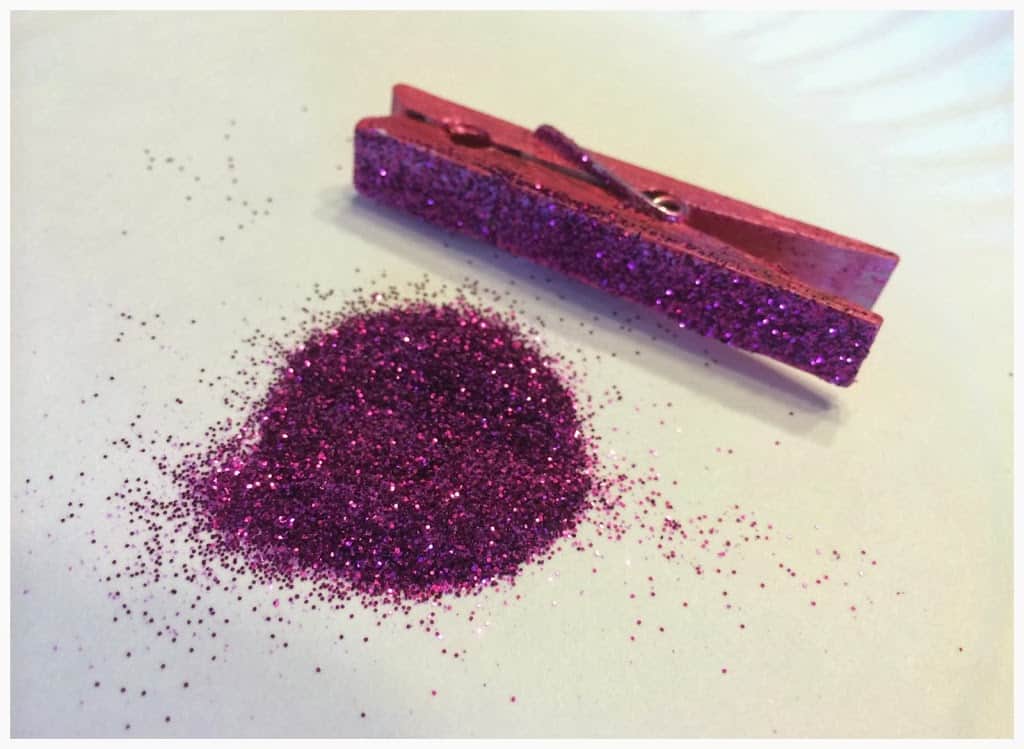
5. Dip glue side onto glitter.
6. Move around until the whole side is completely covered with glitter.
7. Allow clothes pins time to dry completely.
8. You can glitter all of your clothespins or keep some painted only.
I love the bright, sparkly colors!
9. Once dry, you are ready to hang your creations!
10. We used twine ribbon to hang our creations, but you could also use fishing line or wire.
Hi, my name is Melissa! I live in Spanish Fork, Utah. I’m happily married to Rob, and together we have five wonderful kids. Our family loves to embark on adventures, often in our RV, exploring the great outdoors. I’m an avid reader and a big fan of Hallmark movies – they always have a way of lifting my spirits. Hiking is another passion of mine; there’s nothing like the tranquility of nature. I have a sweet tooth for chocolate and a love for Mexican food, both of which make life a little more delicious. In my downtime, I enjoy playing games with my family, creating memories and sharing laughter. Life is an adventure, and I’m here to enjoy every moment of it! I’m the blogger and creative mind behind the blog A Sparkle of Genius! Check out our posts on recipes, crafts, kid stuff, printables, travel and more!


