
Seriously, how cute is this Quilled Unicorn?

Have you ever wondered how to do quilling? Quilled projects are a fun way to craft for decoration or card making. Unicorn crafts are so popular right now that I am excited to share with you these step by step directions on how to make a quilled unicorn.
With the right tools, this paper quilling project is a lot of fun and turns out adorable! If you are throwing a unicorn party– these would make fun crafts at the party or for the birthday girls card.
You’ll also love our Pumpkin paper quilling and spider quilling. I hope that you enjoy this fun quilling craft.!
Quilled Unicorn
Easy Unicorn Paper Quilling Art
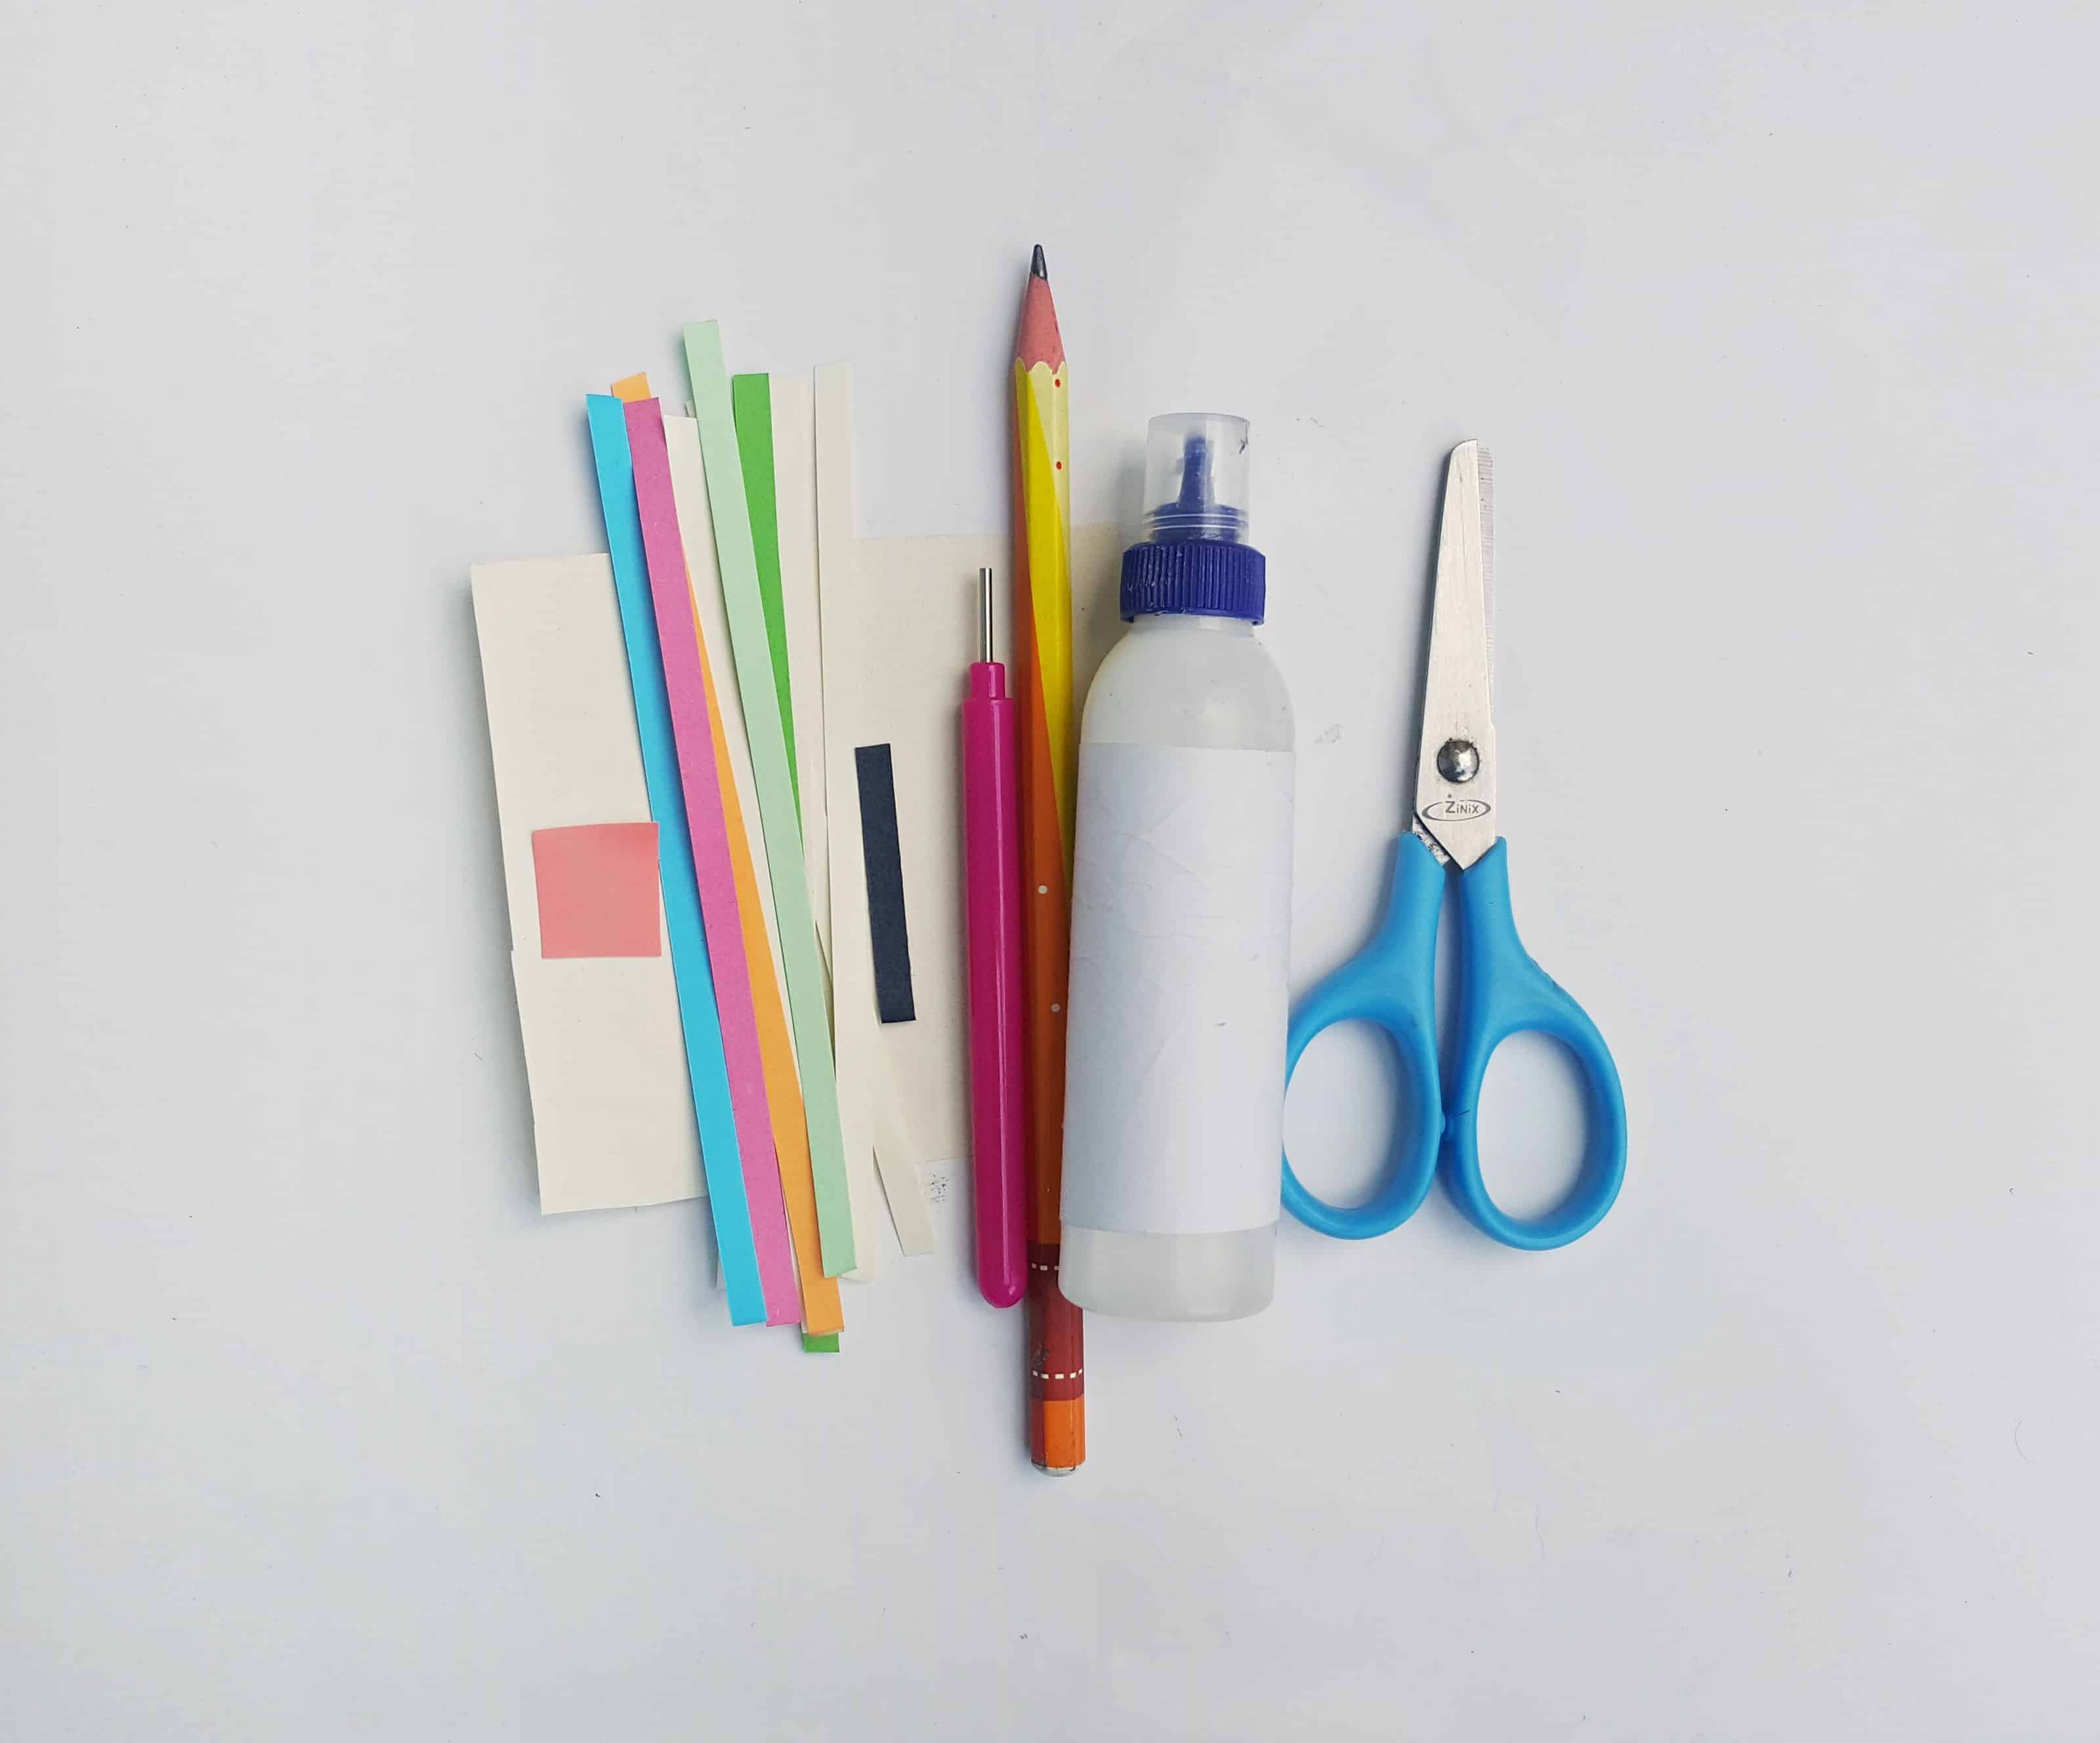 List of Supplies:
- Quilling paper strips
- Craft paper – black , cream and pink
- Craft glue
- Slotted quilling tool
- Scissors
How to make a Quilled Unicorn
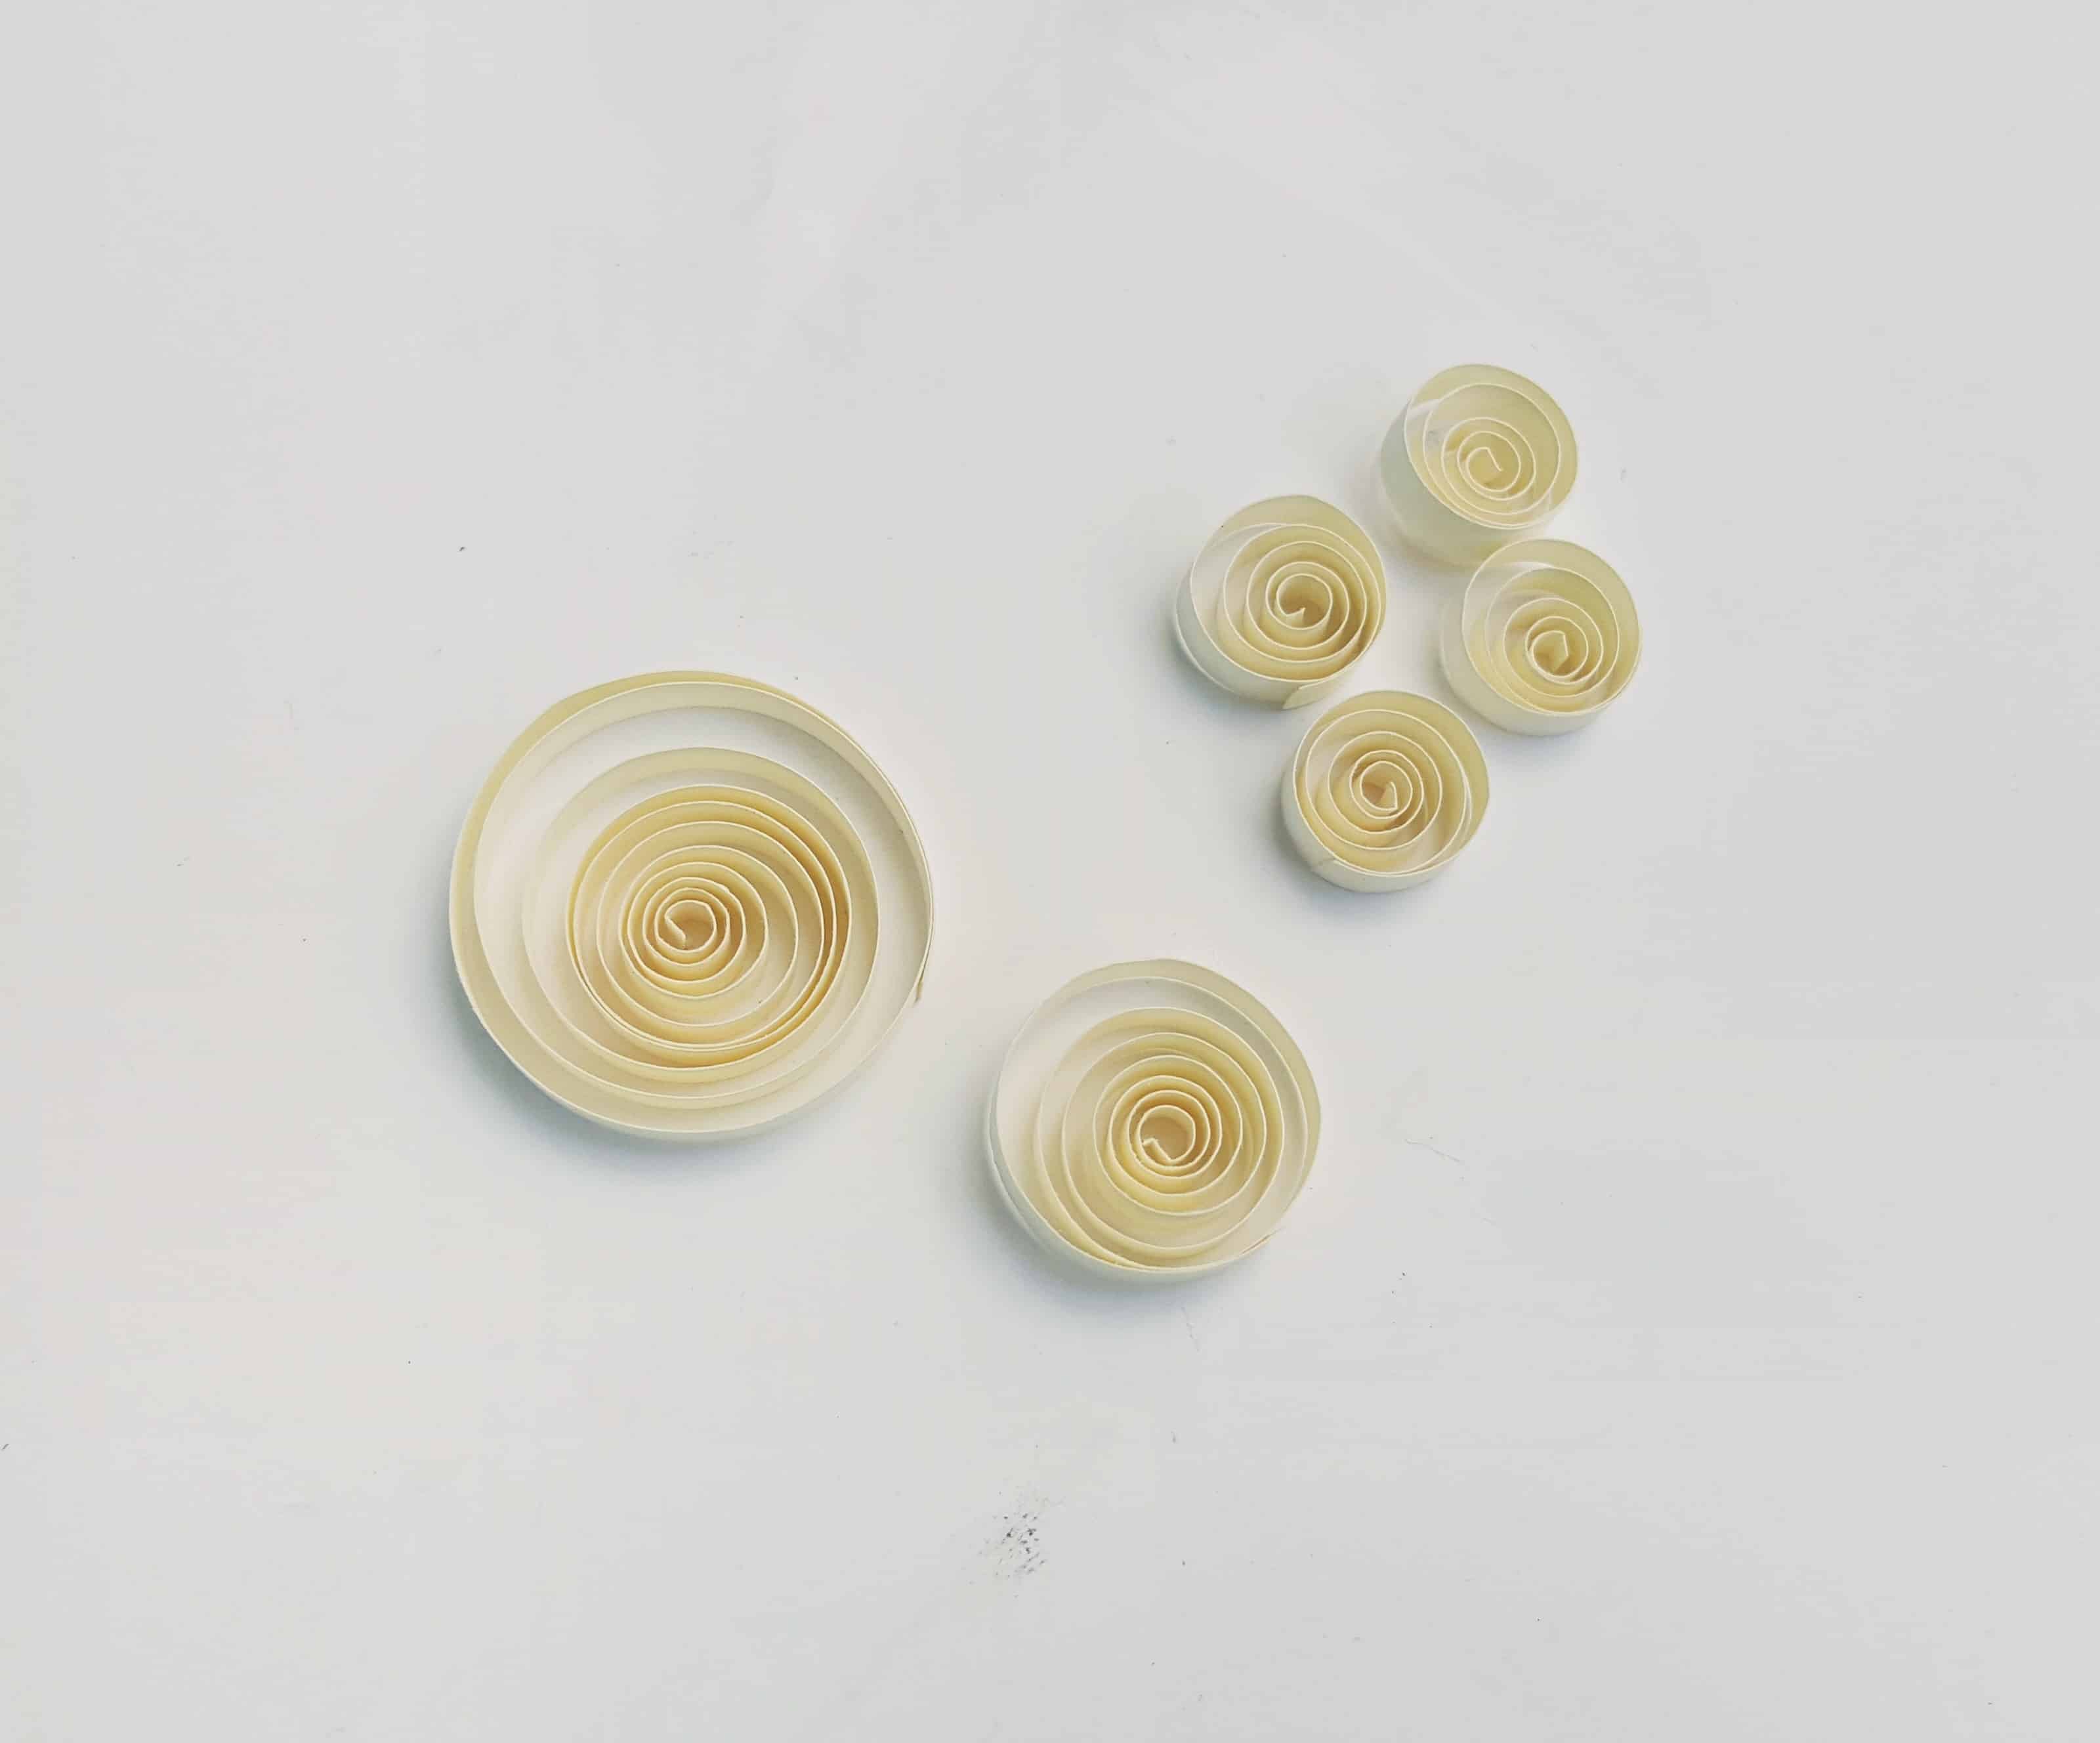
- Select a color for the unicorn, I chose cream colored quilling strips. Take 6 quilling strips of the following sizes – one 20 inches, one 12 inches and four 5 inches strips. Prepare loose coil patterns with them. The big coil will be the body, medium coil will be the head and the 4 small coils will be the legs of the unicorn.
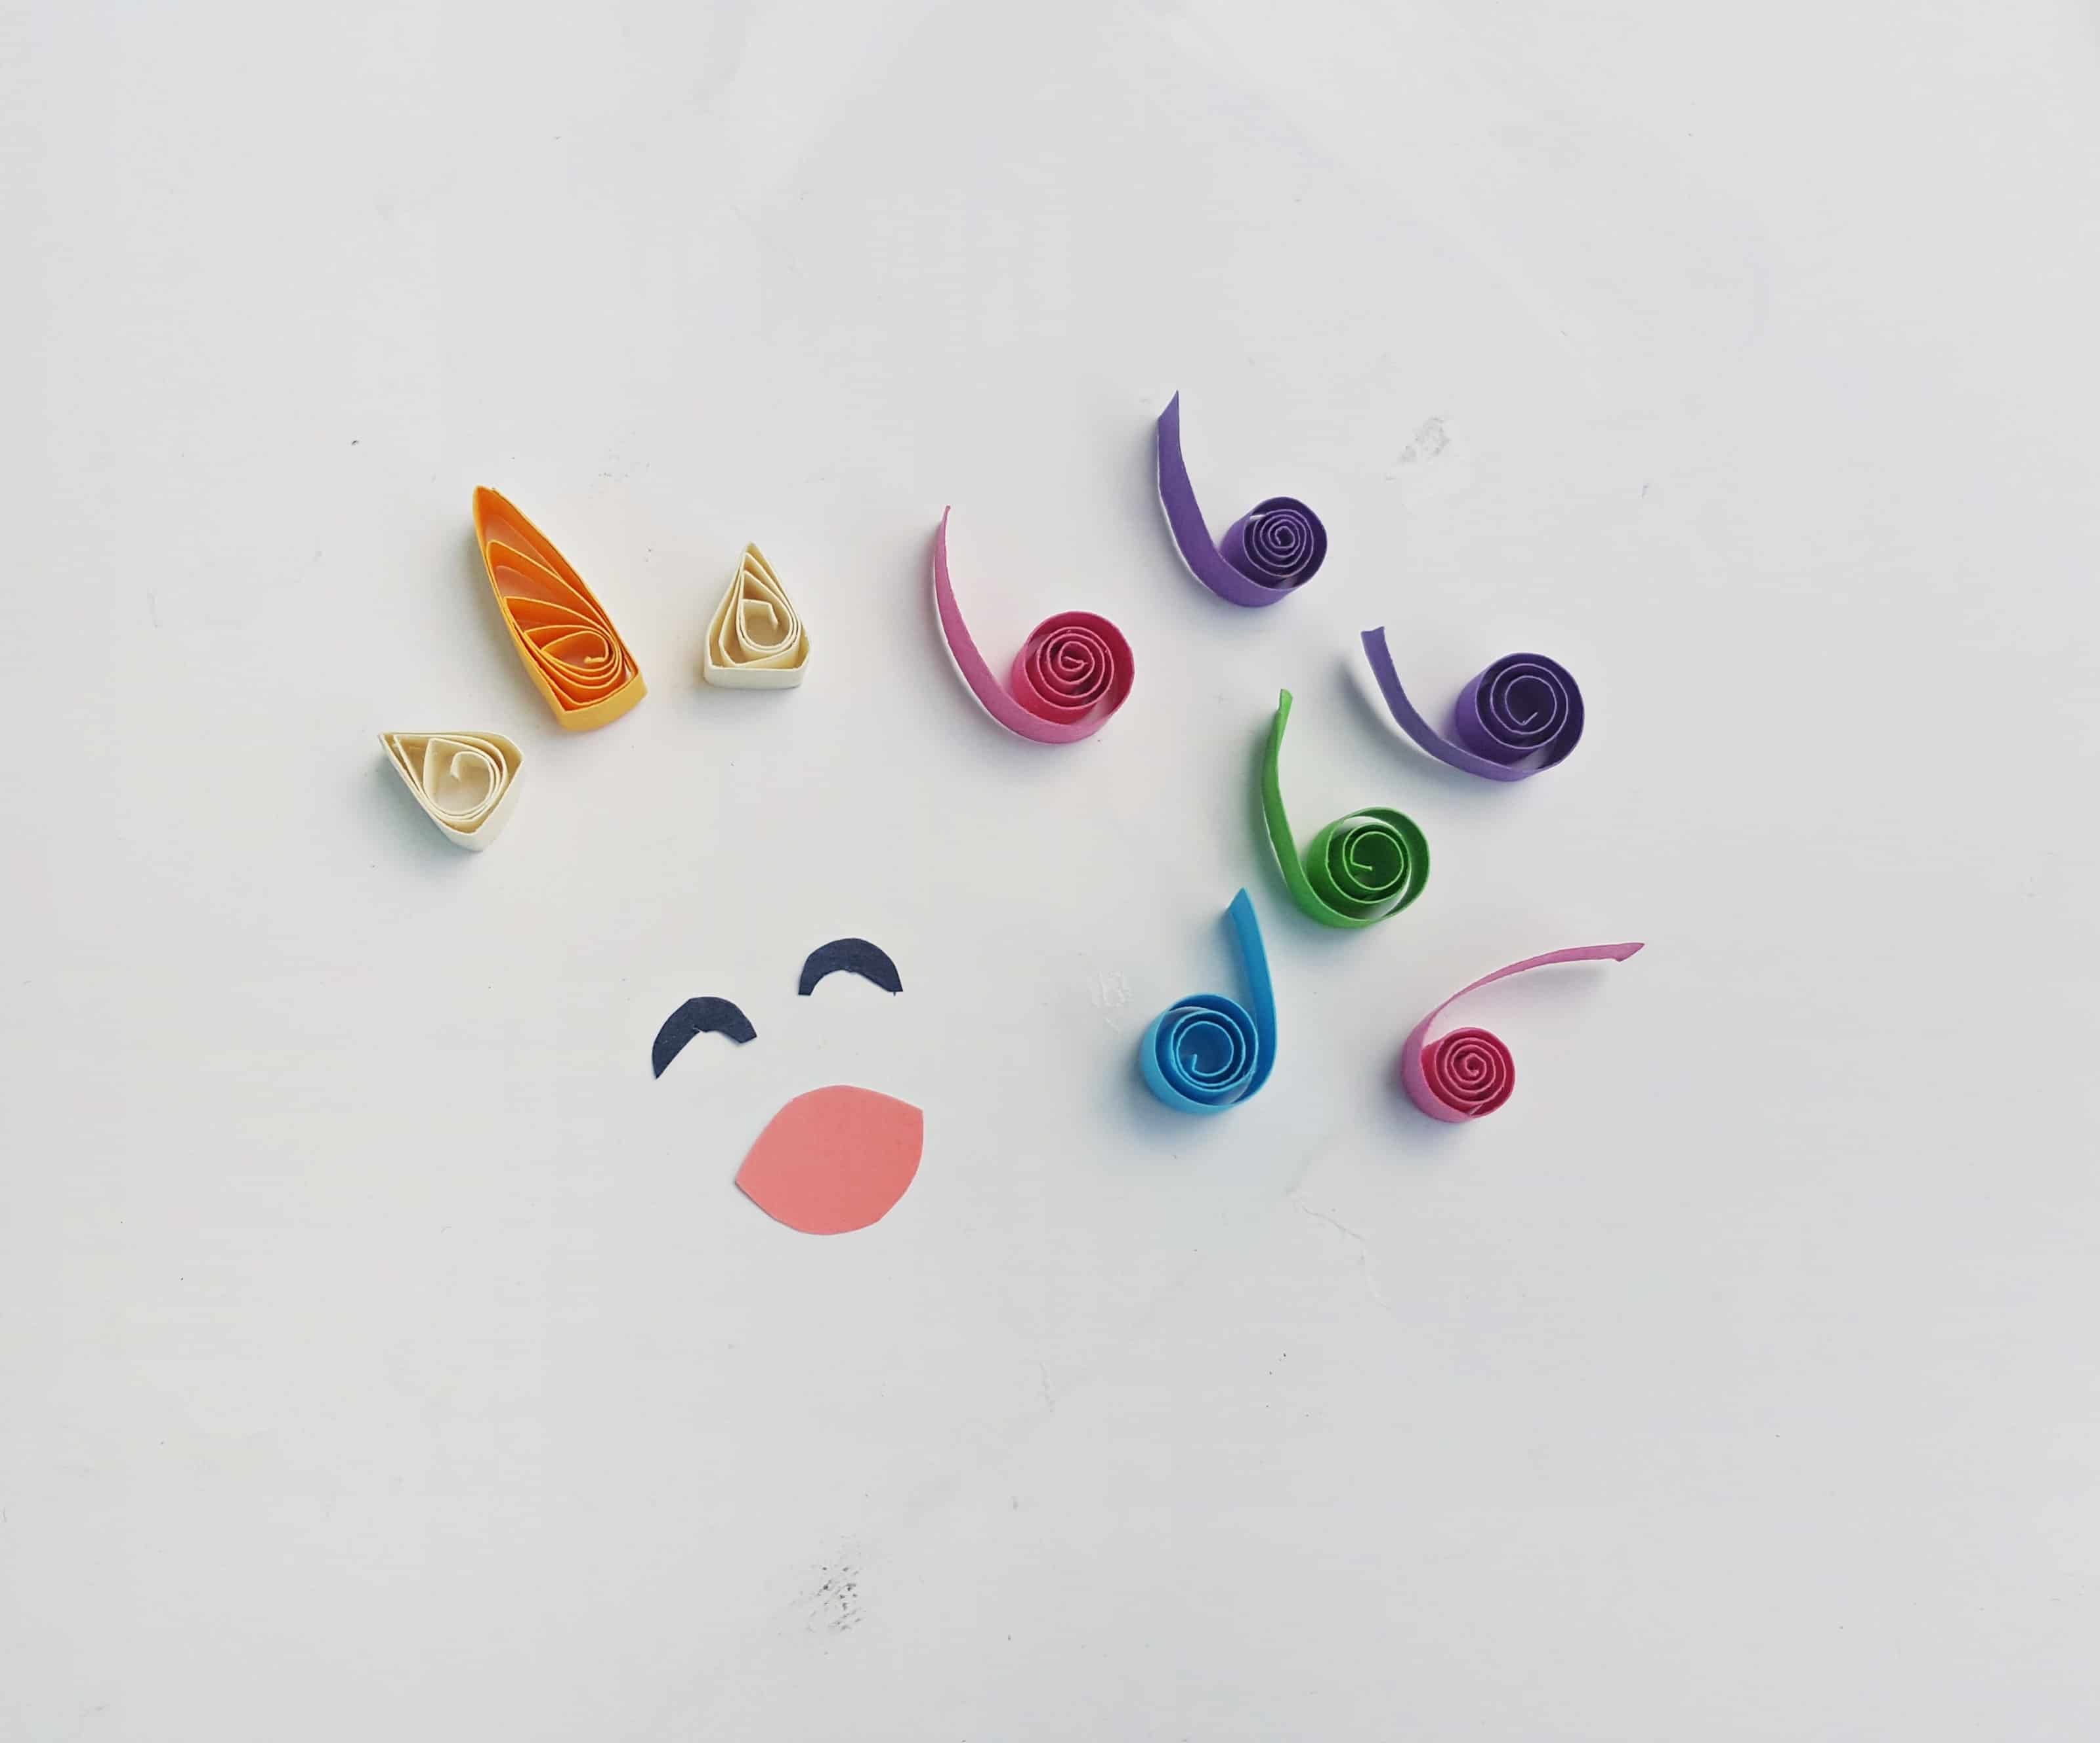

- Use different colored strips (1.5 – 2 inches) to create curled pieces for the hair and the tail of the unicorn. Simply coil the strips by keeping one end of the strips open. Use cream quilling strips (2 inches) to create two triangle shapes (the ears) and a different colored (for the horn) strip to create a stretched triangle shape. Cut out a lens shape (mouth) from pink craft paper and 2 closed eye patterns from black craft paper.

- Prepare a small piece of cream colored craft paper. Take the big and the medium loose coils and glue them on the paper, placing both coils adjacent to each other.
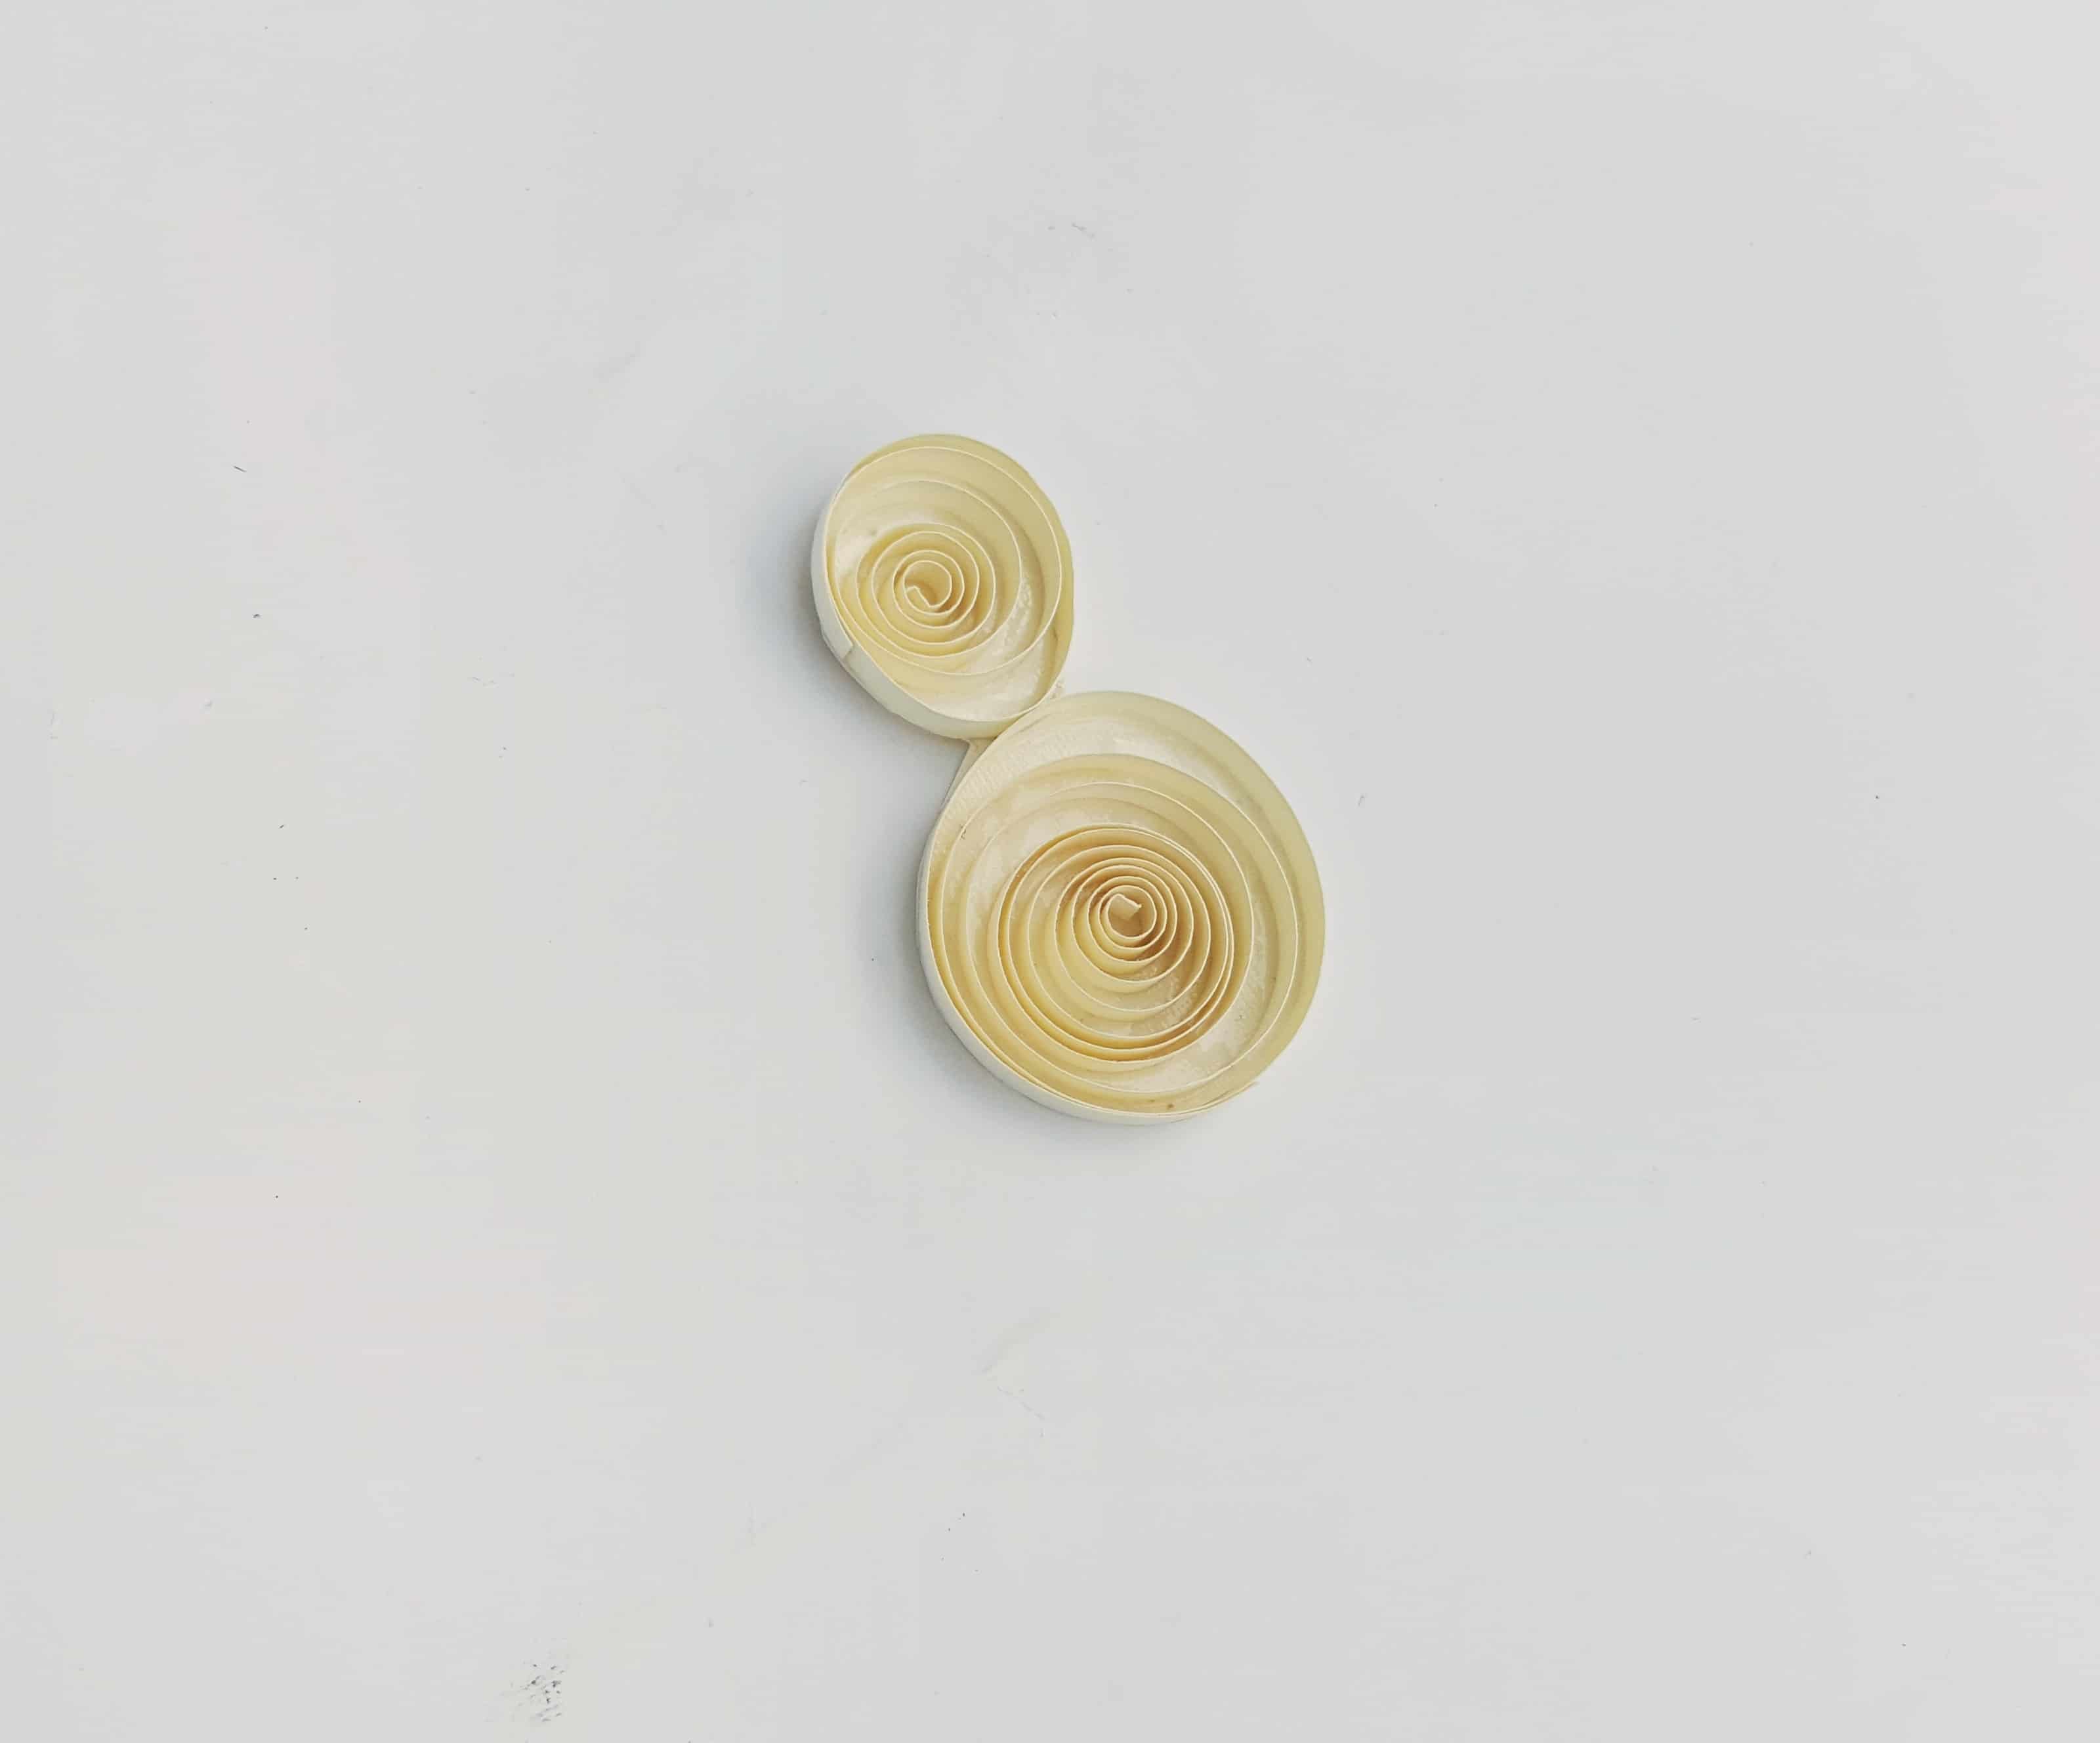
- Use scissors to cut the paper by tracing around the glued coils.
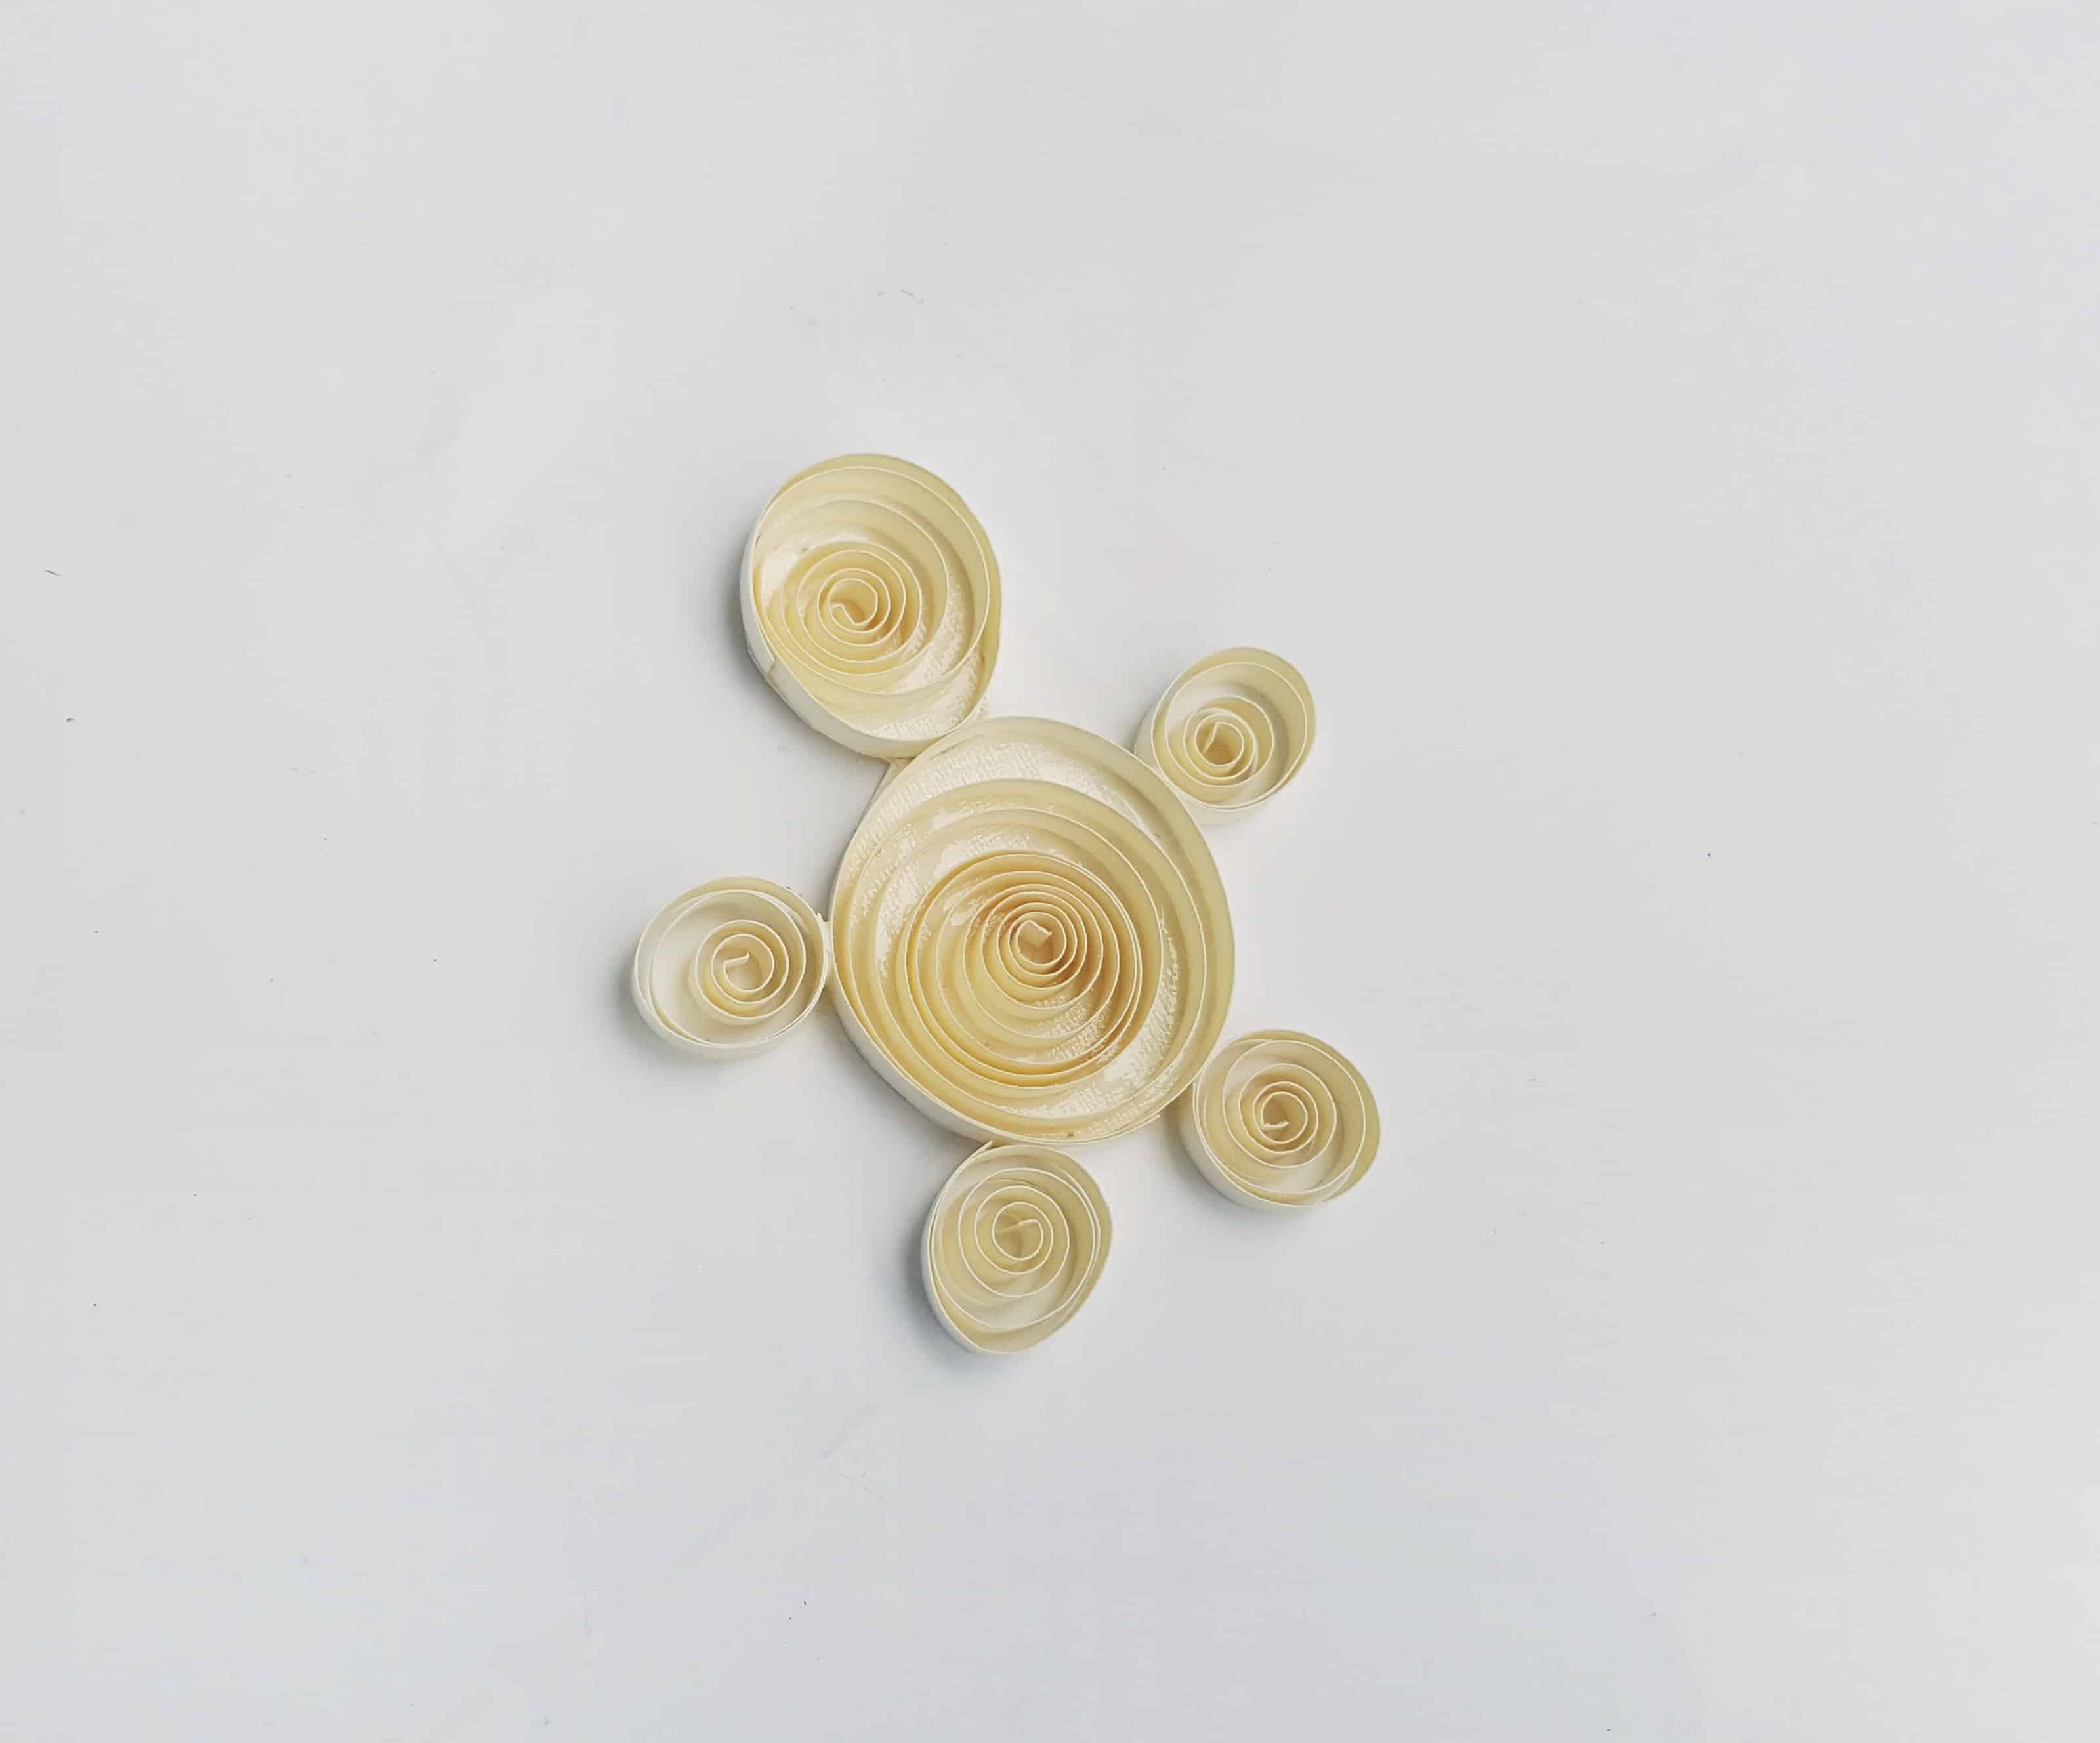
- Now take the 4 small loose coils; glue 2 of them at the bottom side of the large coil, and the others on both sides of it.

- Carefully and neatly attach the mouth (lens shape) and the eye patterns on the head part.
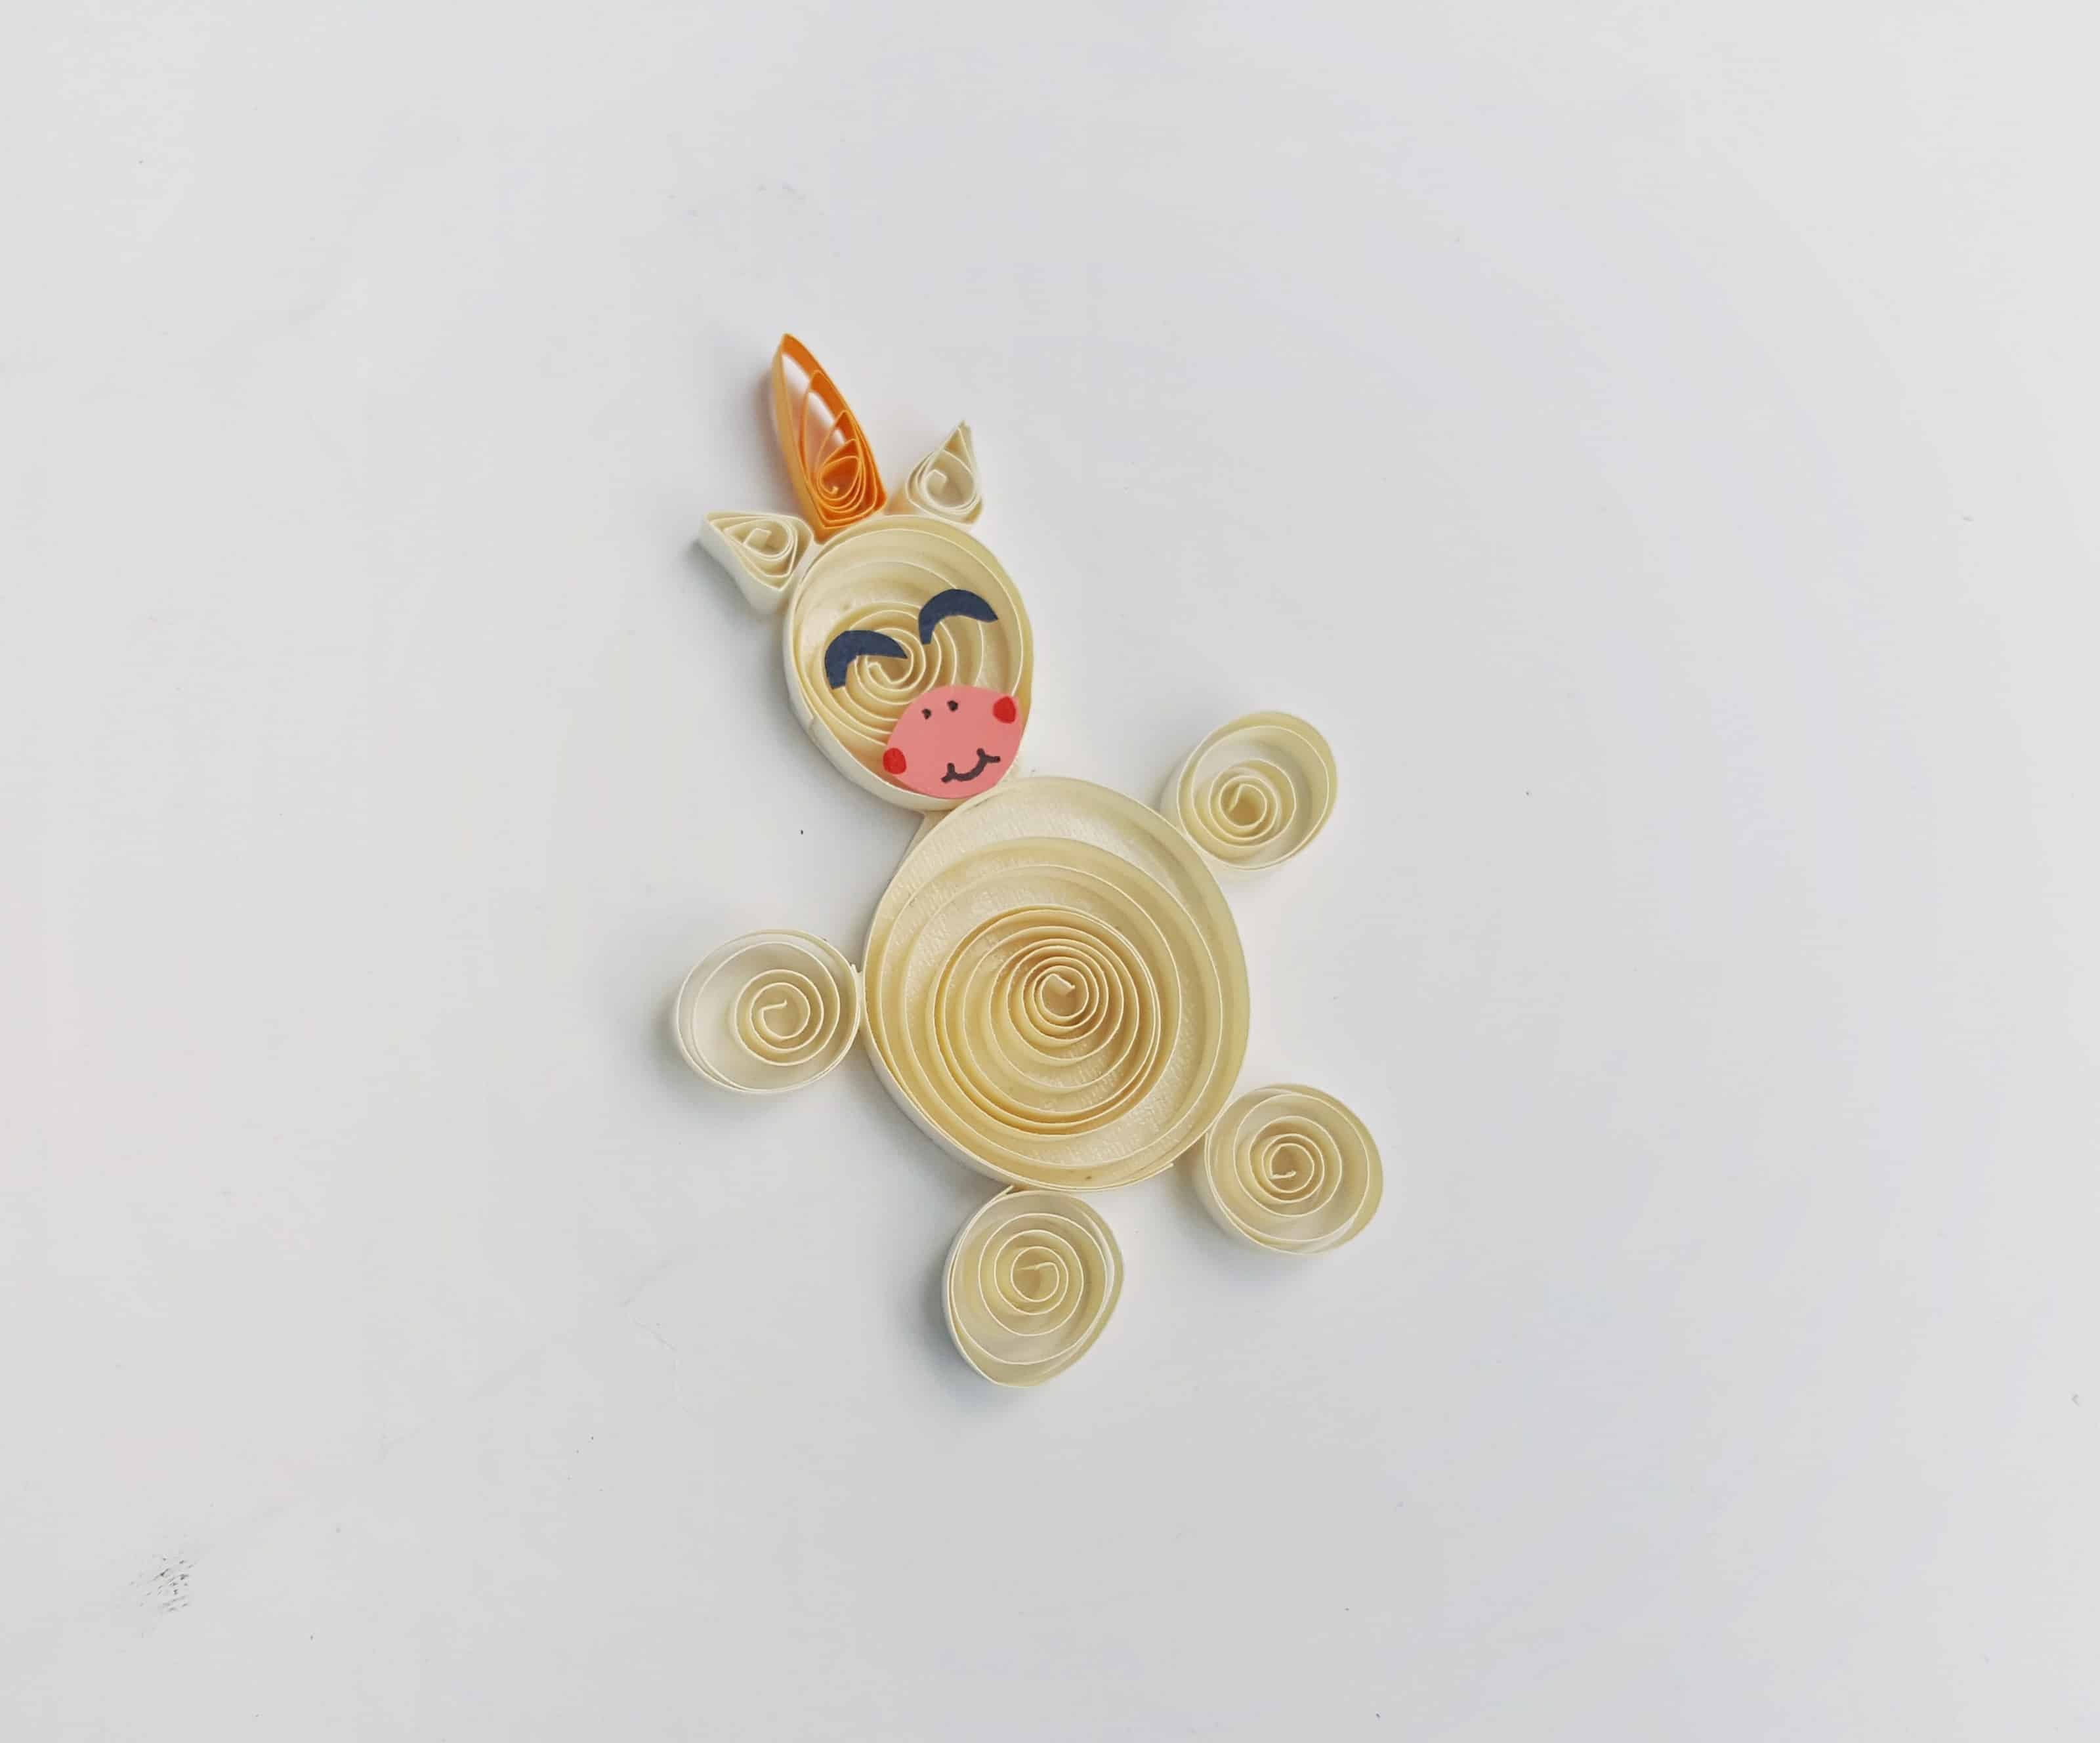
- Attach the ears and the horn on the top end of the head.
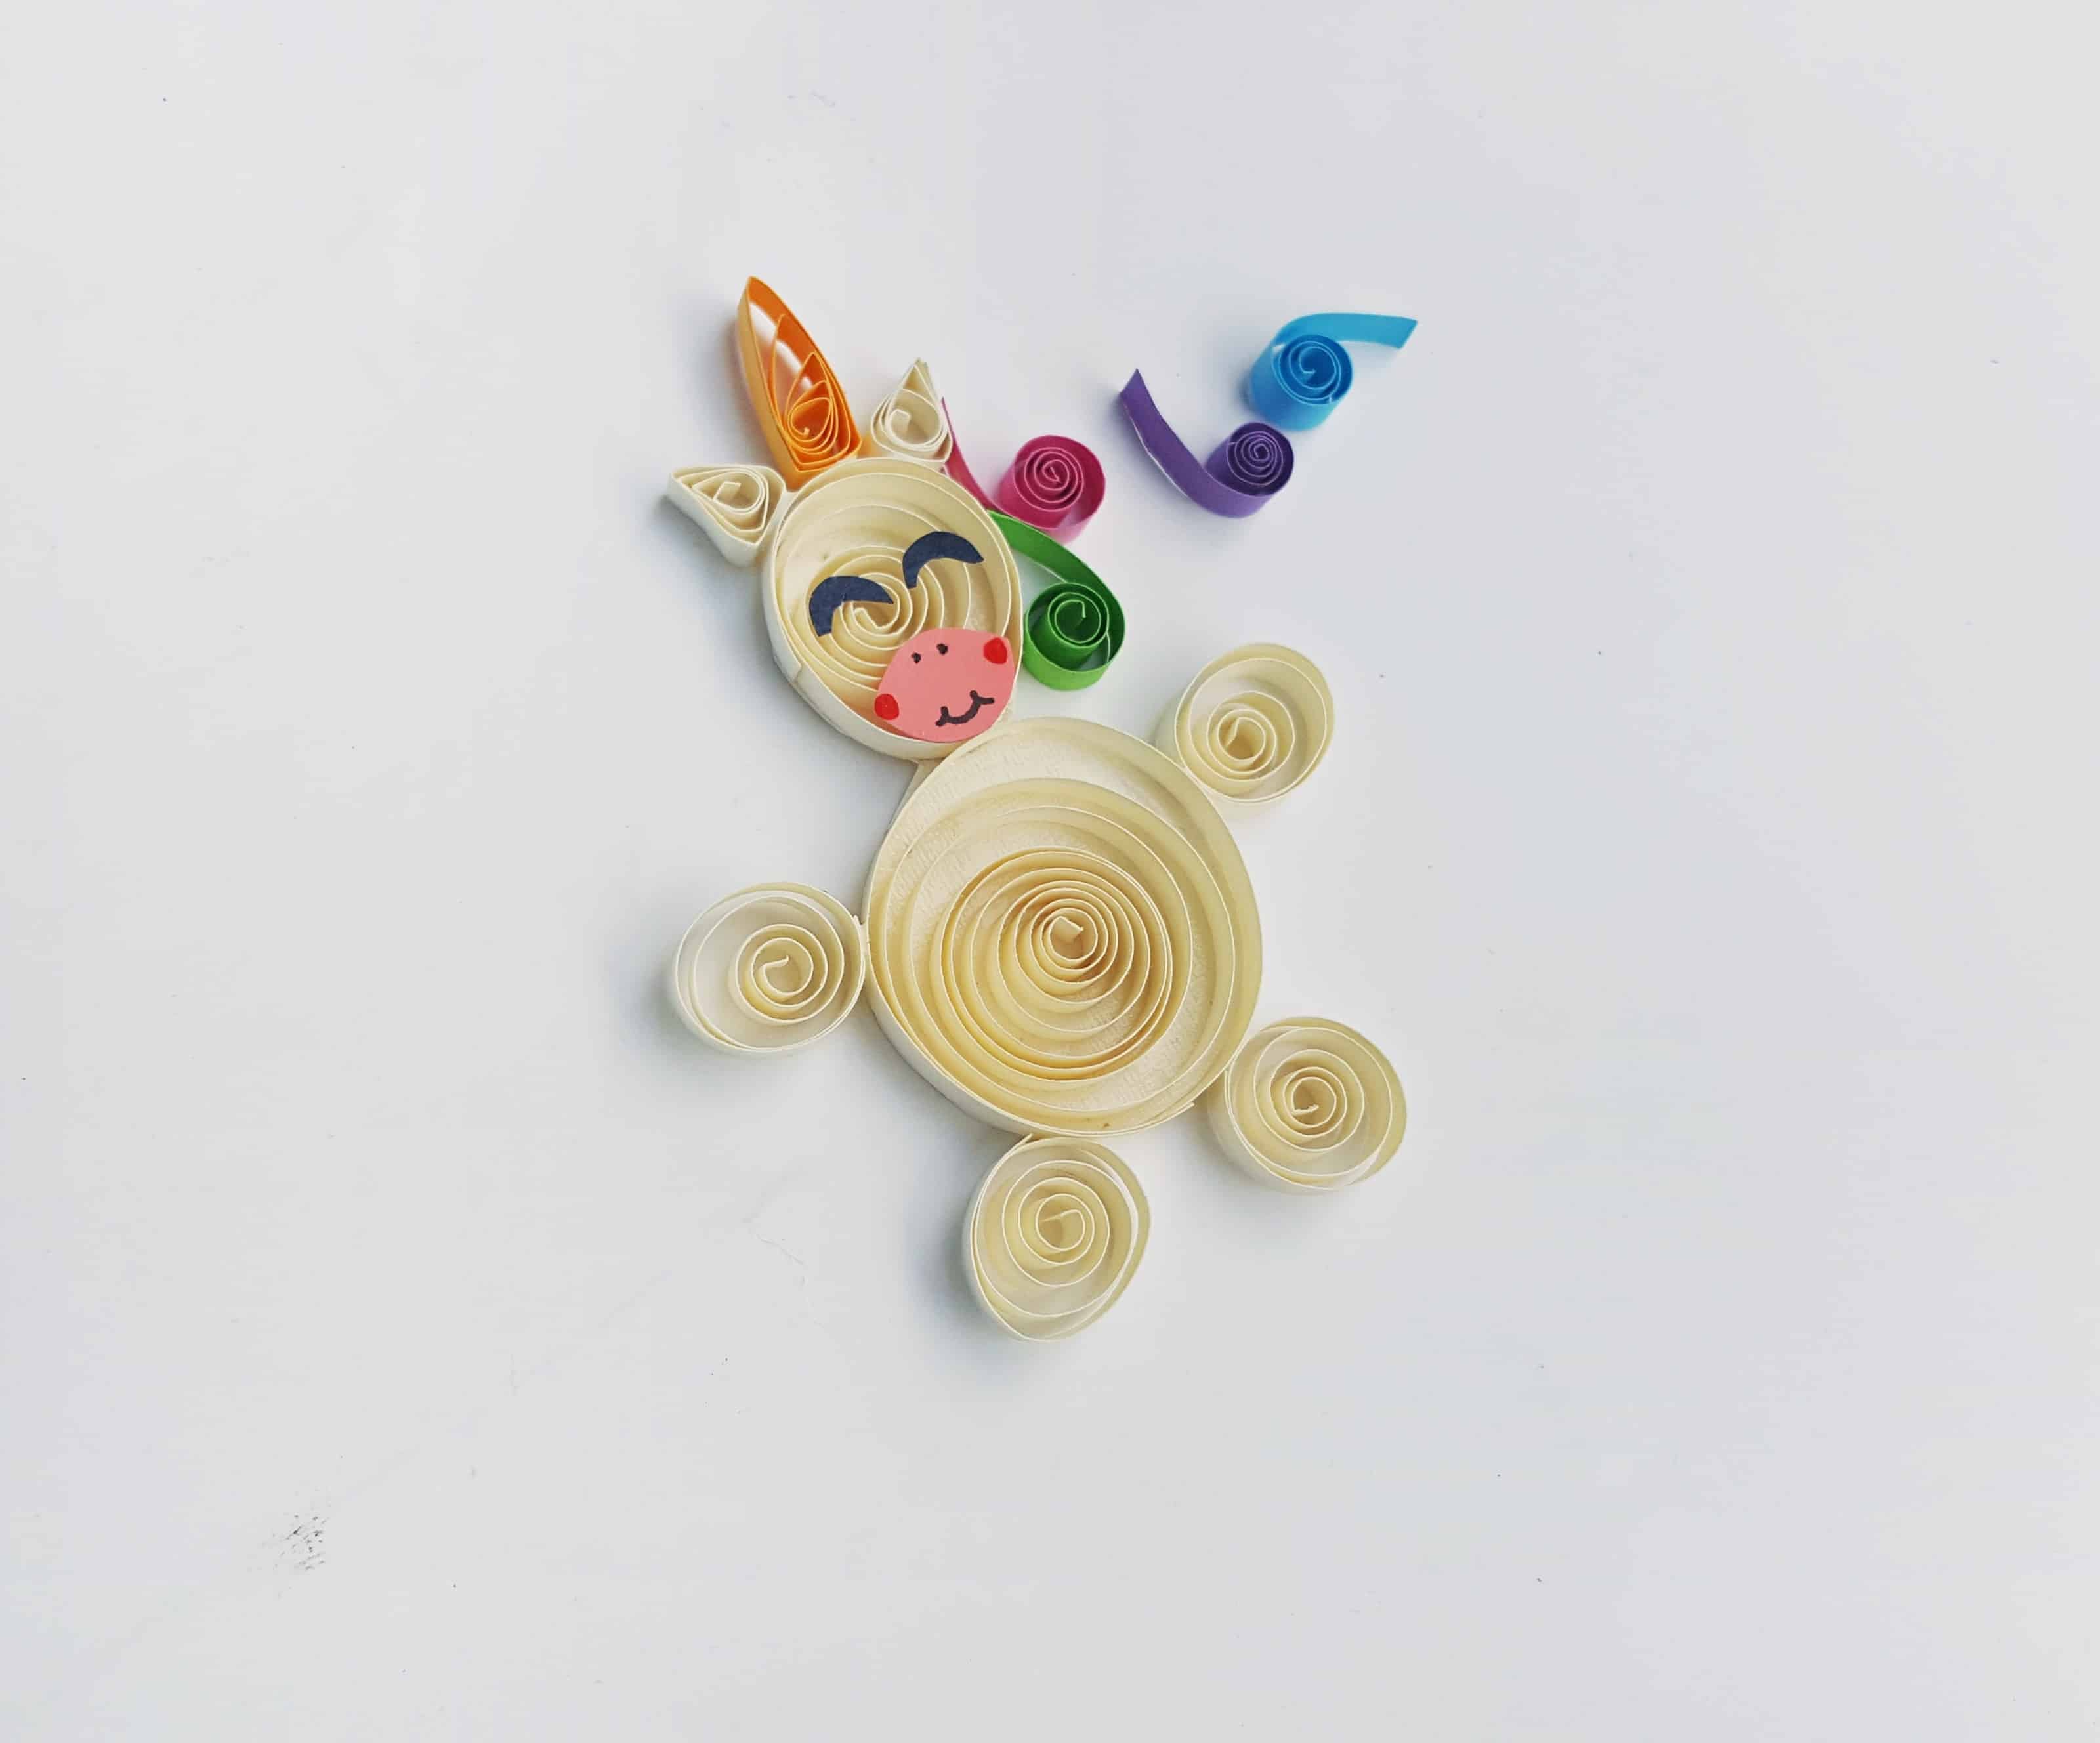
- This is the best and fun part! Attach the curled strips with one end open and attach them on any one side of the head, near the ear and attaching the pieces towards the body of the unicorn.

- Use the curled pieces to create the tail as well. Once you are done with the unicorn pattern allow the glue to dry.

Pin Quilled Unicorn Paper Art for later


Hi, my name is Melissa! I live in Spanish Fork, Utah. I’m happily married to Rob, and together we have five wonderful kids. Our family loves to embark on adventures, often in our RV, exploring the great outdoors. I’m an avid reader and a big fan of Hallmark movies – they always have a way of lifting my spirits. Hiking is another passion of mine; there’s nothing like the tranquility of nature. I have a sweet tooth for chocolate and a love for Mexican food, both of which make life a little more delicious. In my downtime, I enjoy playing games with my family, creating memories and sharing laughter. Life is an adventure, and I’m here to enjoy every moment of it! I’m the blogger and creative mind behind the blog A Sparkle of Genius! Check out our posts on recipes, crafts, kid stuff, printables, travel and more!